Thursday 28 June 2012

Quilt Club Australia Handmade Swap Reveal!

Photo Courtesy of Caz @ The Accidental Quilter
Caz and Kristy from the Quilt Club Australia group recently coordinated the inaugural QCA Handmade Swap. For the last couple of months we've all been secretly working on our swap projects and posting the occasional sneak peek in the QCA Handmade Swap facebook page.. but the time has come and projects are being received left, right and centre! 

My secret swap partner was coordinator Caz herself.. who said she would like a doll quilt or a table runner, and loved "Aqua, Teal, Red, Grey, Purple, Orange (not all necessarily together, lol)". As far as stalking goes, Caz and I are both part of the QCA Craftsy BOM Support Group so I already knew that after doing our April hexy blocks that she had fallen in love with EPP... and she'd presioulsy mentioned on her blog that she was making a quilt for herself using Kate Spain's "Good Fortune". Well hello! Good Fortune pretty much ticks off all those colours (except red) AND I just happened to have a bag of GF scraps from Kate Spain herself..


So I prepared myself a little take along pack (I'm not quite as organised as Caz, I haven't gotten around to making myself a Zakka sewing kit for my EPP... still using a ziplock bag!) to take to the markets with me so that I could be productive during the quiet moments.


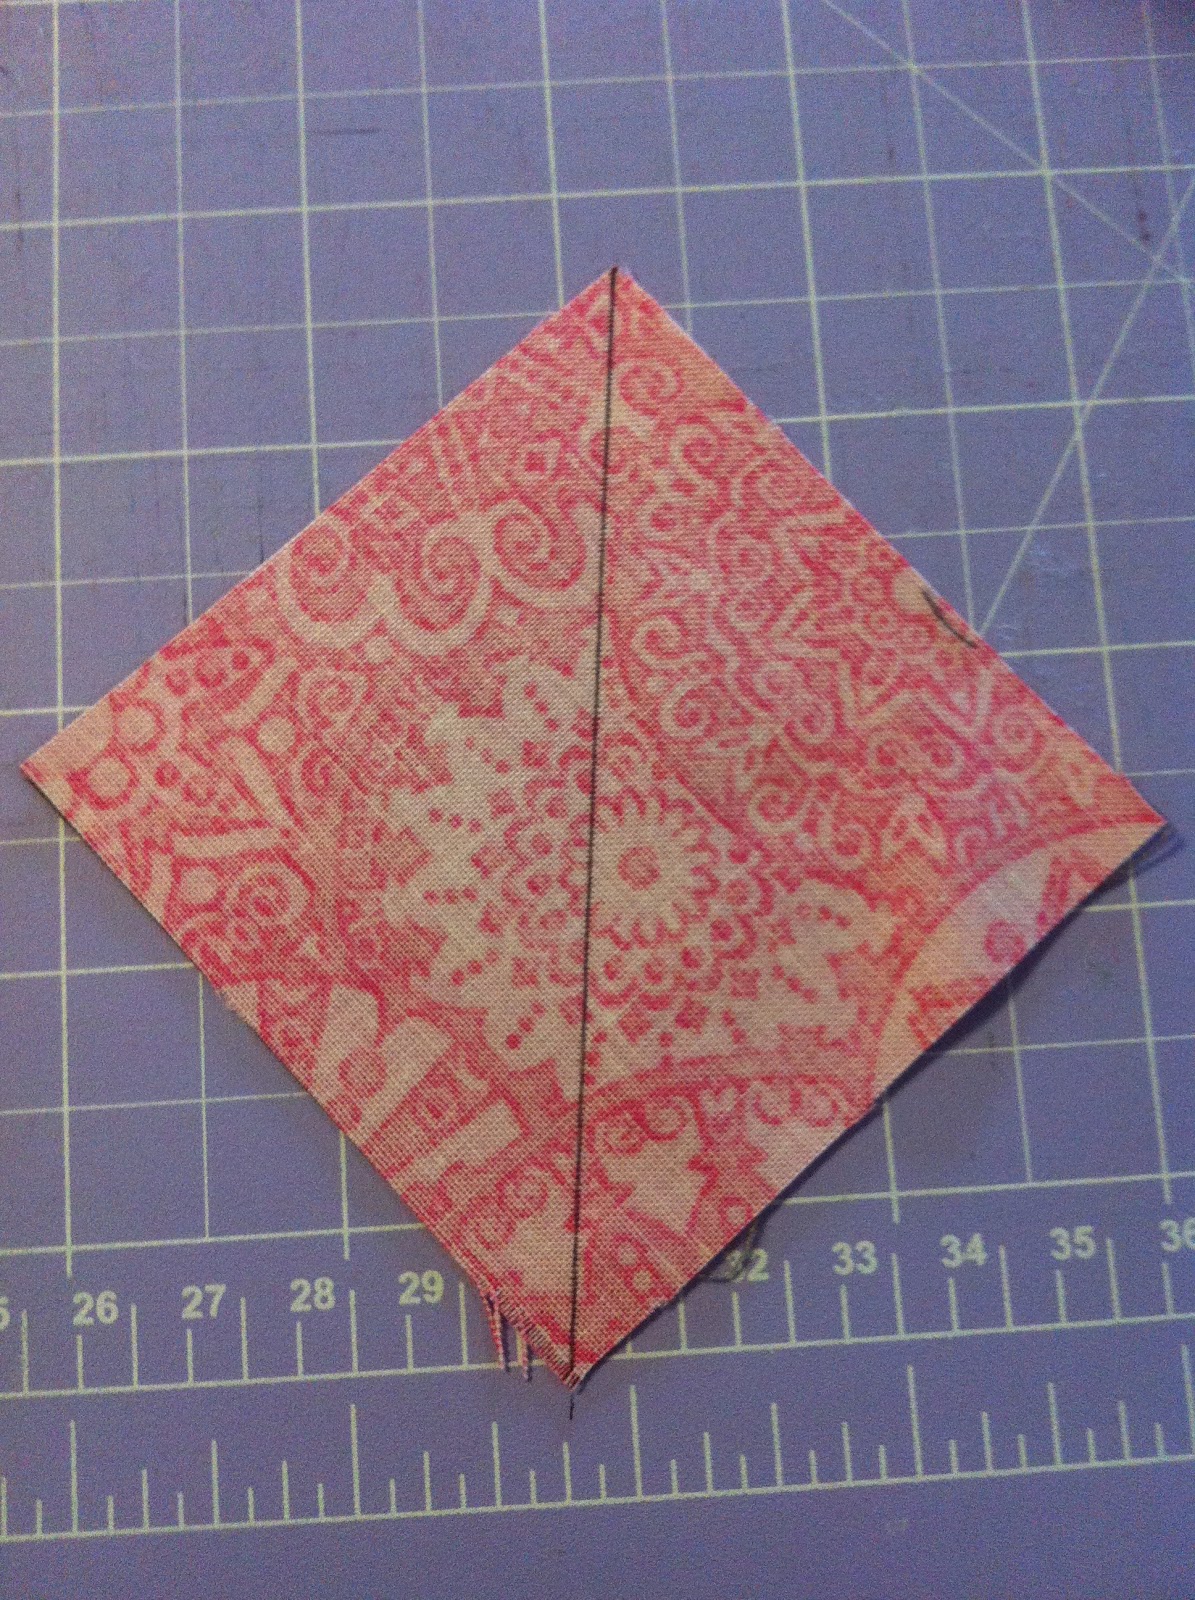
As you can see, there were enough quiet moments for me to pin and baste almost all my hexagons... infact there was enough time to baste them all, but my poor little needle clearly couldn't take the pressure and snapped in half with only 2 hexies left to baste! (insert swearing here - that will teach me not to carry a spare needle!)


Once I got home, found a new needle and basted the last 2 hexies I divided them out into orange/purple and then played around until I got them in an order that I liked before whip stitching them together. I knew that I wanted to put them on a grey background, and as luck would have it I had just enough left over from when I'd made my bee blocks.


Naturally I appliqued them onto the grey using my sewing machine! But how to quilt it? My hexies were mirror imaged, so I couldn't echo the zig zag because it would clash in the middle, and I didn't really think an all over FMQ design would suit... luckily Phillipa provided me with some inspiration. The week before she'd made her sister a table runner for her birthday and she'd quilted it using a wavy stitch that her machine offers (sooooo need a new machine! Mine only has 21 stitches, and for a start, buttonhole is NOT one of them!).. anyway, she very kindly let me use her machine to quilt my table runner using the same wavy stitch. I wanted it to be fairly organic in that aside from drawing a line down the middle of the table runner to mark the centre point, I just eyeballed the distance between lines and didn't worry about whether the waves were matchy matchy. I didn't want to quilt over the hexies, which I think was definitely the right move.


I cut some 2.5" strips from my GF scraps to make binding, and made a little label for my table runner using Daisy my embroidery machine (I remembered to applique that onto the backing - using Phillipa's buttonhole stitch - before I quilted it) and voila! It was complete!


I forgot to take any pictures of it all laid out nicely before I sent it off to Caz because I was trying to go with the whole sneak peek thing, but luckily for me when Caz received it she took some gorgeous photos of it and said I could share them with you all!

Photo Courtesy of Caz @ The Accidental Quilter
I am pleased to say that Caz was very happy with her table runner, and plans to use it on her dressing table to complement her Good Fortune quilt - how perfect was that?! I'm so happy with the way it turned out, and even more thrilled that Caz really likes her gift.

Meanwhile, I'm waiting ever so patiently for my postman to bring me my very own surprise gift.. stay tuned!

Monday 25 June 2012

Tutorial: Chain Web Piecing

I was reading a blog post a while ago that mentioned chain piecing in a web, but it didn't explain how to do it and when I went back to try and find the post I couldn't remember where I'd originally read about it. But I really liked the idea and decided to work it out for myself... and now you can do it too!

If you're wondering what chain web piecing is, it's a form of chain piecing that helps keep all your blocks in order and can be used for anything from individual blocks to piecing whole quilt tops (in row format). 

The block I'm demonstrating with is the Starflower block made famous by Ellison Lane, but I first used this with my Split Drunkard's Path Star blocks (as previously mentioned) and I now use it as my default block piecing technique (as applicable - it doesn't really work with different sizes/shapes in the same block).

Start by laying out the blocks/quilt top to be pieced in your desired layout.

Place the 2 pieces from each row right side together as shown. Chain piece as normal, but do not cut once complete!

*I don't know why, but I always seem to start from the end of the rows.. there is no reason you couldn't start at the beginning.

Step 3: Press seams open, or if you prefer to press to one side you'll need to alternate sides for each row.

Step 4: Lay out your still chained pieces right sides up, and then align the next blocks for each row right side down (as shown below). 

Chain piece as before and press seams.

Continue to repeat layout, (pin,) chain, press sequence for all blocks in the row.

(Pin blocks if desired - this is a good idea to keep them in order if you have quite a few rows)

(As you can see, it keeps the rows in order so you never have to worry about accidentally sewing them in the wrong order or upside down, and if you're chain piecing multiple blocks you don't have to worry about keeping each block separate so that you don't mix your blocks up because it comes together automatically.)
Once each row is complete, fold one row over and pin at seams. The beauty of leaving them chained is that all your seams are already roughly lined up!

To speed things up I like to pin two rows at a time and then sew. Press. You will find that at this point you will need to press to the side, or if you'd prefer to press open you will need to snip the thread chain to allow the seams to open up. I pressed to the side for these, but that's because I'm lazy and I never seem to have scissors in the right place at the right time!

Repeat for all rows (in my case this only leaves one final seam to pin, sew, press) until your block/quilt top is complete.

And here's my completed block (visualise your block or quilt top here)..

Aside from being relatively easy, this technique really works well when you are piecing multiple blocks (eg Starflower or Split Drunkard's Path Stars) as you can chain piece all the blocks to the web stage, (cart them to a quilt guild meeting, or a bee group, or a friend's place as desired) and not inadvertantly mix block pieces up.. and then all you need to do is sew the final 3 (or however many) horizontal seams on each block and you're done! Streamlined, accurate, quick and easy - this lazy girl's idea of perfect piecing!

Sunday 24 June 2012

June Craftsy BOM Blocks

June Block #1 - Greek Cross
I can't believe that we're over half way with the Craftsy Block of the Month blocks already.. Sure, the quilt won't be finished until Christmas, but November and December are sashing/ bordering/ quilting/ binding months which only leaves 4 months or 8 blocks left!

I've really enjoyed learning new techniques and I can't wait to see how it will all turn out in the end.

This month's blocks were the "Greek Cross" and the "Octagon".. both very simple and quite similar. The "Greek Cross" caught my eye when I saw the printout instructions because I realised that if you simply change the colour placement of the blocks it's also the "Churn Dash" block! I bet you all knew that already, but for me it was a great illustration of how colour placement can completely change the way a block looks. I'm really loving the clean cut simplicity of the "Greek Cross" block.

June Block #2 - Octagon
I'll have to take a photo of all my blocks together, but incase you want to see them all in the same place, they're on my Bee/BOM Blocks page - I noticed that the green dots seem to be featuring in almost all the blocks.. a fabric that I never thought would be so popular! It just blends so well with the other fabrics, yet still adding a little zing!

Sunday 17 June 2012

Peach Blossom Perfection - A Desperate Housewife Quilt Block

You may not have realised it yet, but it turns out that I'm one of those people who thrives on tight deadlines.. give me unlimited time and I'll procrastinate, but give me a short deadline and I'll surprise even myself! That's not to say that it's my preferred mode of action, it just seems to be the most productive!

Anyway, after completing my "Thifty Housewife" block for Jane's Desperate Housewife's Quilt I asked her how many blocks she still needed to reach her goal of 100 blocks in total.. and with a little help from the Quilt Club Australia girls, Jane was able to close the gap significantly (she has 6 guest blocks this week!). Still, she was one or two blocks shy of the total.. so naturally I offered to whip up another block because I had nothing better to do ;) (Haha, actually it was rather the opposite- this week/weekend is crazy busy, but refer to my earlier comments about tight deadlines!)

I pulled some of my precious Kate Spain "Good Fortune" scraps, my 1" hexie template (available for purchase in Jane's store!) and even fussy cut my fabric! I'll confess that the green print is a generic Spotlight print because none of my green GF scraps were big enough to turn into hexies.

To make one block you will need to cut:
6x hexagons in your "floral" print
4x hexagons in your "leaf" print
Jane's templates are perfect for use with 2.5" strips in addition to fussy cutting.

 Baste your hexagons and whipstitch as laid out above. (If you need information on how to baste & whipstitch hexagons, you should check out the Craftsy BOM - it's free and Amy Gibson from Stitchery Dickory Dock has put together some great video tutorials. Hexagons were in the April tutorial)

Starch & press (really, if you don't starch, please try it!) and then remove basting stitches and paper templates. Press again if desired.

Decide on a background fabric and pin in place. Applique the motif on by machine or by hand as per personal preference. Your block is complete!

 My husband was kind enough to put together a block (digitally) that shows what your block could look like if you took the time and the effort to fussy cut all your hexagons - doesn't it look gorgeous when it's all perfect and symmetrical?


And here is what a 4 block layout could look like! Thank you, husband ♥

Thursday 14 June 2012

And the Liebster Blog Award goes to....

.. well, apparently me! 

Caz from The Accidental Quilter nominated me for the Liebster Blog Award about a month ago, and it is with many thanks that I accept ♥ (better late than never, right?)

The origins of this award are sketchy at best.. there isn't even a wikipedia page! (I'm amused to read how many people have also made reference to the fact that there's no wiki page, and yet there *still* isn't one... does this mean bloggers are too lazy to create wikipedia entries? Sadly, I'm not the person to do it either!) But I digress.. According to Google Translate "Liebster" means "favourite", and according to the other blogs that have received the award it also means "beloved" or "dearest".

The general consensus is that the award is to be gifted to "up and coming" blogs of less than 200 followers that you enjoy reading and feel deserve recognition.

The ettiquette of acceptance is as follows:

1. Thank the person who nominated you... not only is it polite, but they deserve some love too!
2. Post the award on your blog for all to see - don't we all love to share our wins?
3. Gift the award to 5 blogs that you feel deserve recognition, sharing links to their blogs so that others might experience their greatness also.
4. Leave a comment on each of the blogs you have nominated to let them know that they have won!


So without further ado, The Peony Teacup presents the Liebster Blog Award to..... *drumroll*

1. McKenna from Textile Diva - a fellow Perth Modern Quilter who has inspired me not only with her ability to transform red, white & blue in many different ways but also with of her hand quilting skills (what that girl could do at 15 will surpass what I will EVER be able to do!)

2. Alyce of Blossom Heart Quilts - you should really check out her gorgeous HST blocks.. so cheerful and bright!

3. Beth from Plum & June - who is infact hosting a "Let's Get Acquainted" blog hop for small/new blogs that I will be participating in later in the year.

4. Sue from Sue's Place in the Sun - a fellow Quilt Club Australia Bee Hive member. Sue isn't afraid to try new things, and it's always interesting to read what she's been up to :)

5. Danielle from Threads 'n' Mess - recently coordinated the QCA Rainbow Charm swap, and is now organising a Black & White Fat Quarter Swap... I can only aspire to be as organised!

Tuesday 12 June 2012

Hexagons and Wonky Log Cabins

I was looking through my Craftsy BOM block photos last night and realised that I hadn't taken any photos of my completed April & May blocks! (Or my June blocks, but I haven't even started those yet!)

So without further ado, may I present:


April Block #1 - Hexy Stripe
I very much enjoyed the Hexy Stripe block - I wish I'd thought to do what Phillipa did with hers and place the hexies on the diagonal so that I didn't have to cut any up! Infact, I enjoyed it so much that it served as inspiration for my QCA Handmade Swap project that I have under way at the moment.. more details about that another time, though (it's a secret!)

April Block #2 - Sunny with a Chance of Hex

This block was *so* easy.. I can't imagine anyone being intimidated by hexagons after trying this block.. hardly any whipstitching, and if you're as lazy as I am you will have used your sewing machine to applique them onto the background! Perfect for a beginner.. really! If you've never tried hexies, don't be afraid!

May Block #1 - Framed Wonky Log Cabin

I *really* love how this block turned out! I confess to having fussy cut the centre squares for both of the May blocks, and I'm so glad I did. This is one of my favourite blocks so far, and I'd certainly use it again on another quilt. (This rather surprised me as I'm not really a super modern kind of girl.. or am I?) 

May Block #2 - 5 Sided Wonky Log Cabin
I really hated constructing this block.. the whole time I was bitching to Phillipa about how it looked crap and I didn't think it was going to turn out AT ALL. Clearly I was wrong, because now that it's finished I think it looks kind of awesome. I made the conscious decision halfway through to put the centre block en pointe and I think that made all the difference. If I ever made this block again though, I would start with a 5 sided centre block instead of a square.

I'm so happy with my fabric choice too - Delighted (by The Quilted Fish for Riley Blake) has such a great range in the colour palette which has given me so much flexibility in my blocks. I think my favourites are definitely the pinks, blues and greens... but the reds and yellows are striking too.

And now to do those June blocks...

Monday 11 June 2012

The Harry Potter Quilt, complete!


It just occurred to me that I never posted about the Harry Potter quilt once it was completed! I managed to get it done in time to present it to Bean on his birthday - yay! He was very pleased with it, and it has been on his bed ever since. He then promptly requested a Pirates of the Caribbean quilt for his next quilt, to which I replied that his next quilt is quite a way down my list!

Using painter's tape to baste the backing fabric to the floor  

And some more painter's tape to secure the batting

Quilt top in place, and ready to pin

Pinning, pinning and more pinning.
 I must have spent 2 hours pin basting this quilt.. I pinned every tumbler block, which was like 132 pins.. and then there were the Split Drunkard's Path Stars and the owls etc. My knees and my back were killing me by the end of it, I was walking like a little old lady! Even my fingers and palms took a beating. Next time it will be spray basting for a project this large!

On the upside, none of the pins were "in my way" when it came to the quilting, and it was quite therapeutic when I got to remove them finally!

Centre section basted and ready to go!

Gosh I love how the stars turned out - they're seriously my favourite part of the quilt!

Simple ditch quilting
 I decided that the quilt really wouldn't suit an all over quilting design due to all the different elements, and the good old "stitch in the ditch" was really the perfect option. I bought two different threads, a mid-dark grey for the back of the quilt and a mid grey-blue for the quilt top. They ended up blending so perfectly that you almost can't see the thread.. and the back of the quilt looks amazing because the quilting really makes the design stand out even though the backing fabric is charcoal grey.

I did some free motion quilting at the top and the bottom of the quilt where the blue fabric sections are - I attempted a spirally wave type of design that turned out better than I expected (but certainly not pro by any means!). I think it adds some movement in a subtle kind of way.

On the bed, ready to go!
I know I've said that if I'd had any idea how much time, effort and thought/planning/quilt math would be needed to complete this quilt I probably would have sucked it up and paid $90 for a Harry Potter quilt panel on eBay.... but really, it turned out so much better than I could have hoped for and I'm really rather pleased with myself. It's definitely the biggest, most ambitious and intricate project I have ever taken on (it really makes their "baby quilts" look tiny and insignificant) and it's nice to know that I can pull off something more than a lap sized quilt.

Now I just need to do some work on that king sized quilt I'm going to make for the husband and myself! (Don't hold your breath for that to be finished any time soon - I've only made one Swoon block so far!) And before I do that I have some BOM blocks to catch up on and a couple of swap projects to complete.. it's kind of nice to not have a major project with a deadline looming!

Incase anyone is interested to note, almost all the pieces of this quilt were cut using my Accuquilt GO! fabric cutter, using the 3.5" Drunkard's Path, the small Tumbler and the 2.5" Strip Dies. That includes all the sashing and the binding (LOOOOVE my 2.5" strip die!).

Sunday 10 June 2012

Tutorial: The Thrifty Housewife - A Desperate Housewife's Quilt Block

The lovely Jane of Quiltjane and Want it, Need it, Quilt! fame has spent the last year designing blocks for the Desperate Housewife's Quilt. Every week for the last 50 weeks she has dreamed up a new 8" finished quilt block, and encouraged some of her bloggy friends to help her reach 100 blocks in total.. and now that we're right at the end, it's my turn to show you the kind of Desperate Housewife I am!

I was originally planning to call my block "Heart of the Home", because isn't that really what all wives & mothers are? (Whether they're desperate or not!) But as I was turning my block from a concept into a reality, my inherent thriftiness came to the fore and I decided that I was going to call my block "The Thrifty Housewife"!

So what do you need to make this block?

* 4-5 charm squares in a range of prints (4 if you want the 1/2 hearts the same, 5 if they're different/part of a multiple block layout)
* 1 fat quarter of background fabric
(I turned mine into a 4 block layout that used a total of 16 charms and less than 1m of back ground fabric including backing.)


Step 1. Cut a 3" square from each charm square.


Step 2. With the remaining piece of the charm square, cut diagonally to create a 4" HST. (You will end up with two "chisel" shaped pieces left over - don't throw these out!)


 Step 3: From your back ground fabric, cut 8-10x 3" squares (8 if you're using 4 charm squares, 10 if you're using 5 charms) and 2-3x 4" squares (2 for 4 charms, 3 for 5). Subcut the 4" squares diagonally into 4" HSTs.


Step 4: Place the 3" print square right sides together with the 3" background square, and draw a line diagonally as shown above.


Step 5: Sew 1/4" from the line on each side.


Step 6: Using your rotary cutter, cut along the drawn line.

Step 7: Place 4" print HST and a 4" background HST right sides together and sew using 1/4" seam allowance. (not shown)


Step 8: Press all HSTs open.


Step 9: Trim the two smaller blocks down to 2.5" square, matching the diagonal line to the 45 degree mark on your ruler.


Step 10: Trim the larger block to 3" square, matching the diagonal line to the 45 degree mark on your ruler.


Step 11: Place the 3" block and the remaining 3" background square right sides together, and mark a line diagonally as shown.


Step 12: Sew 1/4" on either side of the line and then cut along marked line. Press open.


Step 13: Trim blocks down to 2.5" square, aligning 45 degree line, and tip of triangle at approx 1.25" (as shown).


Step 14: Lay out your pieces as shown. This creates 1x heart which is 1/4 of the total block.


Step 15: Sew pieces as shown to create two halves of the heart. Press.


Step 16: Lay out your hearts, you should have a total of 3 full hearts (1 top row, 2 bottom row) and 2 half hearts (top row). Join as shown so that you have 4x squares. Press.


Step 17: Join the two top blocks, and the two bottom blocks to form two strips. Press. 


Step 18: Sew the top row and the bottom row together, press. Your block is now complete!


Join two or more blocks together horizontally to create a chain of hearts (would make a lovely border! Or a mug rug, or a table runner..)

Or join four or more blocks together to make a table topper, doll or cot quilt!

And remember that part about saving the "chisel" shaped charm square off cuts? That's where the real thrifty housewife part comes in! You could piece them together to create a separate mug rug/mini quilt or use it to to back your Thrifty Housewife block - either way, you'll maximise the use of your charm squares and end up with something cute and fun as an extra bonus :)
Related Posts Plugin for WordPress, Blogger...

ShareThis

Online Quilting Class